Hydrangeas are springing up in home flower gardens all over. And why not? They’re easy to grow and create large, showy leaves, and beautiful flower clusters.
These flowers can be cut to create stunning show pieces, and even when they are dried, the flowers can still last indefinitely. When purchasing these plants from your local retailer, the key is knowing when the best time to plant them is.
There are two key times when it’s best to plant hydrangeas, so keep reading as we go over when it’s the best time to play them, some vital care tips, and how to keep them growing and coming back year after year.
Table of Contents
Why Hydrangeas?

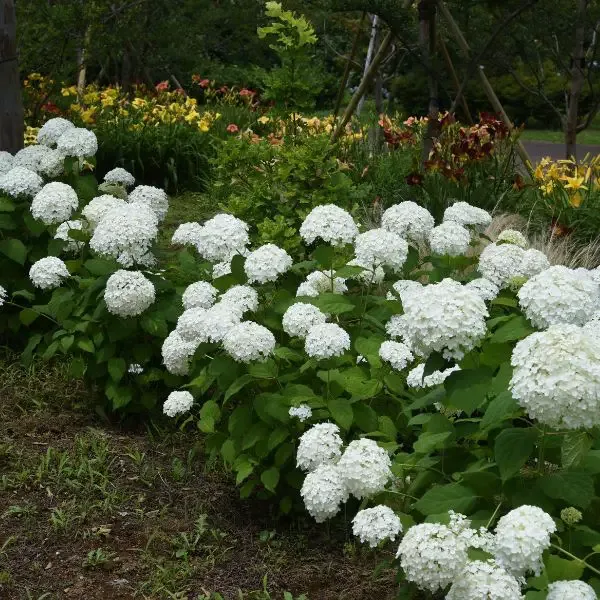
What’s not to love about these rural bushes? They come in many different sizes, and colors, and are super easy to grow with just a few requirements.
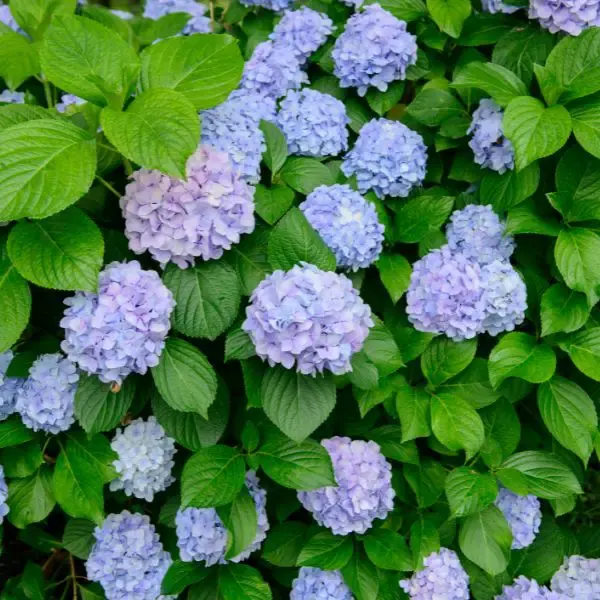
The big green leaves are a joy to behold, and when the “puffy” flower clusters show themselves in the summer, they really brighten up the landscape.
Hydrangeas are hardy in most Zones across the U.S. and will grow in most soil types. They come back year after year to provide you with a great show of color and flowers.
No wonder they are becoming so popular.
What’s So Important About Planting Times?
By picking the right time to plant your hydrangeas, you are giving them the proper amount of time to get established before harsh weather sets in. Yes, these plants are quite hardy, but hot summers and cold winters can damage them if they aren’t ready.
When you plant your hydrangeas in the ground, they need time to establish their roots. This gives the plants a good starting point and will help them survive whatever Mother Nature throws at them.
The Two Best Times To Plant Hydrangeas
Spring and fall are the best times to put your hydrangeas in the ground. While these plants can survive most cold snaps and hard freezes, you’ll want them to be ready for it. The tender new growth and soft green shoots will freeze and die back if they are planted too close to winter.
In the summer, the extreme heat, and dry conditions are not ideal for getting these plants established either. Depending on your USDA Hardiness Zone, you can usually plant hydrangeas in early to mid spring, and early to late fall.
Tips On Planting Hydrangeas In The Spring
Check to find out when the last average frost in your area tends to come. You’ll want to get these bushes in the ground a week or two after the latest frost, but well before the extreme heat and dry summer air kicks into full swing.
Spring planting will help hydrangeas get their roots established before summer, and will protect the tender, green, new growth from getting damaged from frost or a hard freeze.
Tips On Planting Hydrangeas In The Fall

If you can manage it, planting these bushes in the fall is even better than planting them in the spring. Just be sure to plant the well before the first average frost in your area.
Once the summer heat breaks in early fall, plan on putting them in the ground. This gives the plants the best amount of time to grow strong, healthy roots. Then when spring rolls around, the bush can focus more on growing big, green, healthy leaves, and then the amazing clusters of flowers everyone loves.
Make sure the soil is still warm and workable, and frost is still several weeks away. This helps with transplant shock and will let it get acclimated to the coming cold weather.
Is There A Best Time Of Day?
There certainly is. Even when you’re planting in either spring or fall, try to put your plants in the soil in the morning, or the evening. Avoid the hottest part of the day.
The plants won’t wilt as much, or lose as much water if they are planted in the cooler hours of the day. Planting them when the sun is at its most intense can increase transplant shock, and make them lose a lot more water. They’ll stay wilted and sad looking longer.
Picking The Best Place For Hydrangeas
Before you start digging, plan out the best place for your hydrangeas. Most species of these plants prefer cool, morning sun, and won’t grow well in full, afternoon sun.
A partially shady spot is ideal. You can even plant them under a tree that helps to shade them. Just make sure the shade is covering the hydrangeas during the afternoon hours.
The sun’s rays get much hotter and more intense in the afternoon hours. Hydrangeas prefer 4 to 6 hours of sun, and they like to get it earlier in the day.
The next thing to take into consideration is the soil. Hydrangeas can grow in most soil types, but they really do well in a loamy, well draining dirt.
All along the south, if you’ve lived there, you know all about the clay, and hydrangeas can survive in that environment. In fact, some even thrive. But, to give them the best chance, use some additives to break up hard clay.
Clay takes a long time to dry out, and once it does get dry, it also takes a long time to soak up water. Heavy clay soils and a wet summer can easily cause your hydrangea to get root rot, which can be fatal to them.
Adding compost or organic matter is good for both sandy and heavy clay soil. It will break up the dense soil, and add nutrition and materials that will retain some water when mixed with loose, sandy dirt.
Check The Soil’s pH
")
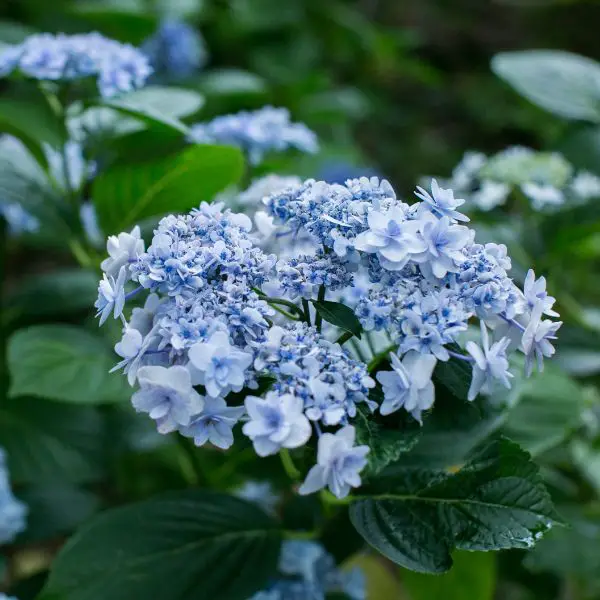
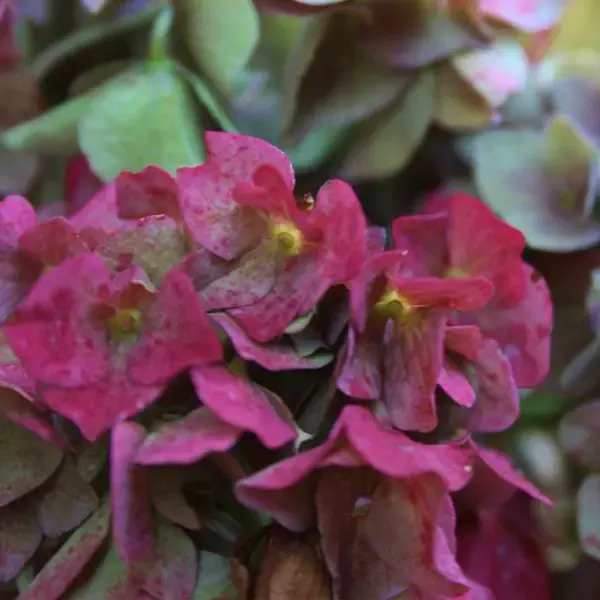
This isn’t a requirement, but you may want to do it just in case. Some hydrangeas will change color depending on the pH of the soil. Acidic soil will turn some flowers blue, while more alkaline or basic soil will turn them pink.
If you have green, white, or purple hydrangeas, the soil pH won’t change the flower color. You can use a meter such as this 3-in-1 Soil Test Kit, Soil Moisture Meter/Soil ph Meter to check the acidity or alkalinity of the soil.
If you need to make your soil more acidic, add a little Espoma Organic Soil Acidifier per the instructions. On the flip side, if the soil is too acidic, use a little bit of Jobe’s Additive Lime for Soil to get it back to a more stable pH.
Aim for between 5.5 and 6.5 pH for hydrangeas. The lower the number, the more acidic the soil is, so you can see that they prefer to have a slightly acidic soil.
Dig Your Hole
The instructions on the hydrangea pot may already explain this, but if not, go ahead and dig a hole between two times wider than the pot, or two feet wider. This helps to break up the soil around the root ball.
If you’re adding amendments, mix it up with the existing soil. Don’t just pour a bunch of the nutrient rich soil in the hole or the roots may not expand out very far because they could be getting everything they need in the hole.
It’s important not to bury the stems of the hydrangea in the soil. Dig your hole to be level with the top of the root ball, or even let it stick up about a half of an inch higher. Burying the crown of the root ball is a sure way to give it root rot.
When planting more than one bush (and who only wants a single hydrangea anyway?) you’ll need to give them enough space to “branch” out. Bad puns aside, space them between 3 to 10 feet apart depending on the species.
Plants that are too crowded can get fungal diseases such as powdery mildew and rust spots. Airflow is the best way to prevent spores from settling on your plant’s leaves.
Should You Add Fertilizer Now?

Adding fertilizer to newly planted shrubs isn’t necessary. Often, when you first purchase plants from a nursery or home improvement store, they will have plenty of slow-release fertilizer in the soil.
If you see tiny, semi-translucent pearls that look a bit like plastic beads in the pot, the plant already has plenty of fertilizer. Once your hydrangea is established you can give it a plant food boost in spring or early summer.
Try not to fertilize too late in the growing season because the added nutrients could spur new growth. This new growth will often get damaged when winter rolls around, causing next year’s growth to suffer.
It is alright and even recommended to add some aged compost or Wiggle Worm 100% Pure Organic Worm Castings if you are amending your soil during planting. These additives will help loosen the soil (add aeration for the roots) and add nutrients.
Consistent Watering Is Key
Once your new hydrangea is positioned in the dirt, give it a good soaking. The water will help remove any large air pockets, and help the plant recover quicker from transplant shock.
While your hydrangeas are getting acclimated and establishing a strong root system, the best thing you can do for them is to water them regularly. Typically you should water newly planted hydrangeas a few times per week, then scale back to once a week.
The key is keeping the soil consistently moist during the first few months of growth. Watch out for overwatering though as this can cause root rot. They need about an inch of water per week while they are getting established.
Check the soil with either a moisture meter or stick your finger in the dirt. If the first inch or two of the soil is dry, give it some water, if it’s damp, then skip a day.
Also when watering, try not to soak the leaves, and avoid spraying the dirt directly up onto the bottom leaves. Both of these actions can increase the likelihood of fungal infections.
Using a gentle watering can, or a soaker hose positioned around the base of the bush is ideal.
Adding mulch is a great way to help maintain a consistent soil moisture level. Spread a 2 to 3 inch layer of mulch around the bushes. Mulch helps in so many ways.
It keeps the soil cool in summer and warm in winter. It prevents moisture loss from water evaporation, provides a weed and insect barrier, and as it breaks down, mulch improves the soil naturally.
Video About When To Plant Hydrangeas
Now On To Some Frequently Asked Questions
How late in the year can you plant hydrangeas?
Check your local area’s average frost dates. You can search for this on the internet or consult a Farmer’s Almanac. You’ll want to be sure you plant your hydrangeas several weeks before the threat of frost so the roots have time to get established.
Is September too late to plant hydrangeas?
This largely depends on your USDA Hardiness Zone. In most areas of the lower 48 states, September isn’t too late to plant hydrangeas. Just make sure the first average frost is about 4 to 6 weeks away. Your plant needs time for the roots to get strong and acclimated to the environment.
Do hydrangeas grow in October?
Hydrangeas typically begin to go dormant in the fall. In October, most varieties will begin the process of dropping leaves and getting ready for the cold. There are however a few species of reblooming hydrangeas that may produce flowers in late summer and may last into October.
That’s It Folks
There you have it. The two best times to plant hydrangeas. Both spring and fall are great times to get your plants in the ground, and it gives them time to grow strong, healthy roots before weather extremes.
Once hydrangeas are established, there isn’t much you will need to do for them as they are easy to grow, and very hardy, yet gorgeous bushes.
Just make sure you plant them in a somewhat shady spot, have a good, well draining soil, and keep them consistently moist. Once they have had time to get established, you’ll have beautiful bushes growing back year after year.